Mastering the Art of the Coffee Percolator
Mastering the art of brewing coffee using a percolator is not just about getting your caffeine fix, it’s about rekindling a romance with one of the oldest methods of coffee preparation. Coffee percolators, once a staple in every household and still beloved by many aficionados, can produce a distinctively strong and robust cup of coffee that modern machines struggle to replicate. Whether you’re a veteran percolator user or a curious newcomer aiming to explore this method, understanding how to properly use a coffee percolator can elevate your coffee experience.
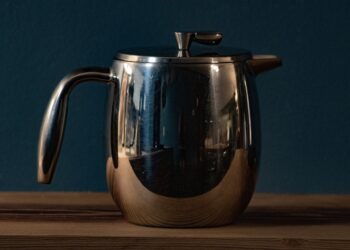
What Is a Coffee Percolator?
A coffee percolator refers to a type of pot used to brew coffee by continuously cycling the boiling or nearly boiling brew through the grounds using gravity until the required strength is reached. They come in two main types: stovetop and electric. Each style has its aficionados and unique merits.
Benefits of Using a Coffee Percolator
Percolators are known for producing coffee that is hotter and more flavorful than what many drip machines can offer. They are also admired for their durability and simplicity. Unlike many high-tech coffee machines, percolators have fewer parts that can break and are generally easier to maintain.
How to Use a Coffee Percolator
Step 1: Assemble Your Equipment
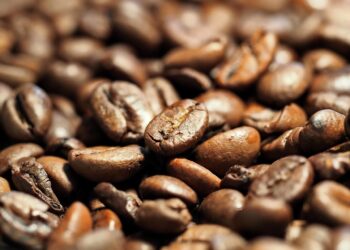
Before you start brewing, make sure you have a percolator, coarsely ground coffee, and water. The coarse grind prevents coffee grounds from slipping through the percolator basket.
Step 2: Add Water and Coffee
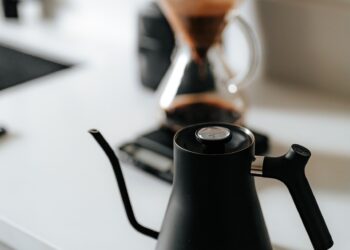
Fill the percolator’s water chamber with cold water up to the desired level—most pots have markings. Then, add one tablespoon of coffee per cup to the basket. Adjust according to your taste; some might like it stronger.
Step 3: Assemble and Heat
Place the coffee chamber and tube into the percolator. Secure the lid and place your percolator on the stove over medium heat, or turn it on if it’s electric.
Step 4: Percolation Process
Watch or listen as the water starts to percolate. You’ll hear gentle bubbling and see coffee start to peek into the glass knob atop the percolator. This crucial phase usually lasts about 7 to 10 minutes, depending on your percolator and heat source.
Step 5: Timing Your Brew
Once percolating, brew for 7 to 10 minutes. Brewing too long can make the coffee bitter, so timing is essential.
Step 6: Enjoy Your Coffee
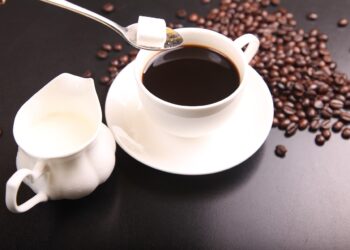
Remove the percolator from the heat source (if stovetop) or turn it off (if electric). Let it sit for a minute to let the grounds settle. Pour and enjoy!
Common Questions About Coffee Percolators
Q: How do you keep coffee from being too bitter in a percolator?
To prevent bitterness, make sure you don’t grind your coffee too finely, don’t overfill the coffee basket, and most importantly, don’t over-brew. Percolating for 7 to 10 minutes should be about right.
Q: Can you use regular ground coffee in a percolator?
While you can use regular ground coffee, it’s best to go with a coarser grind to ensure that the coffee grounds don’t pass through the mesh of the coffee basket, which can lead to a gritty texture.
Q: Is percolated coffee stronger?
Yes, percolated coffee is generally stronger than brewed coffee. The boiling water extracts more of the coffee flavors, including the oils and compounds that give coffee its robust taste and aroma.
Cleaning and Maintenance
To ensure your percolator remains in good working order and continues to make great coffee, regular cleaning is essential. Disassemble the percolator and wash all parts with warm, soapy water after each use. Some stainless steel percolators can be washed in the dishwasher, but check the manufacturer’s recommendations first.
Conclusion
Mastering the coffee percolator is about embracing the process and tuning into the details that make a perfect brew. Not only does the percolator make rich, aromatic coffee, but it also invites you to engage intimately with every step of coffee brewing. Whether it’s a morning ritual or a means to serve coffee to a large group, mastering your percolator can be a fulfilling and flavorful journey.